How to make one PDF from photos of your documents
- Photograph each page flat, in daylight, with the whole page inside the frame and no fingers or shadows on it.
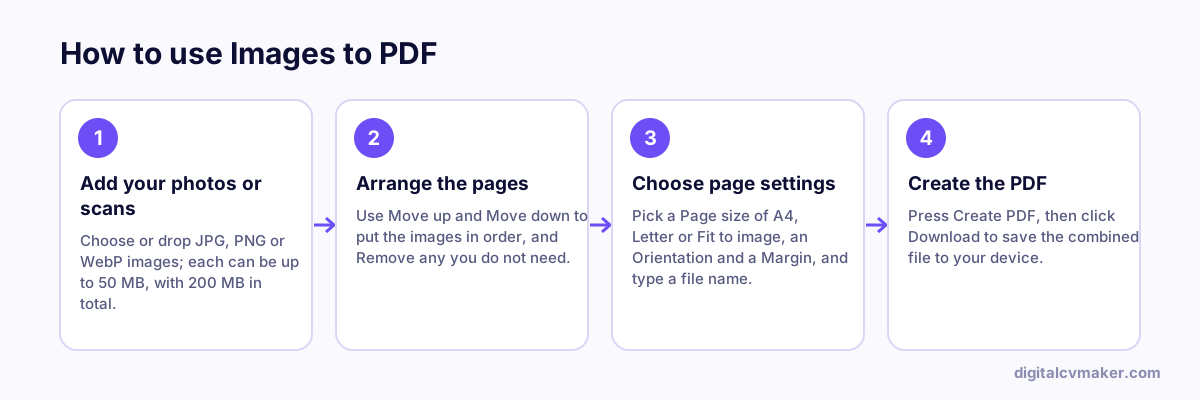
- Add the photos above and arrange them in the order the reader expects — for example, marksheets from Class 10 upwards, or all pages of an experience letter together.
- Choose A4 for most offices and portals (Letter for the US and Canada), keep orientation on Auto, and use a small margin so nothing gets cut when printed.
- Give the file a clear name such as “YourName-Certificates”, create the PDF and open it once to check every page.
Keeping the PDF small enough to upload
Job portals, HR onboarding forms and email often cap attachments. Big phone photos are scaled down automatically, but a few habits help:
- Crop out table tops and backgrounds before adding the photo.
- Prefer JPG photos over PNG screenshots for scanned pages.
- If the portal has a strict limit, split the documents into two PDFs.
Need a single photo at an exact size or KB instead? Use the photo resizer. To join PDFs you already have, try merge PDF, or see all free tools.